Getting started with the Azure ML Python SDK v2
A walkthrough of a template that uses the AML Python SDK v2 to set up an end-to-end machine learning project in Azure ML.
Azure ML is a service that makes it possible (and relatively easy) to do machine learning in the cloud. It has plenty of features, but this blog post will focus on those that can aid you in scaling your machine learning efforts and getting your models into production. If all you need from Azure ML is a place to run hosted Jupyter notebooks then this post isn’t for you. On the other hand, if you’ve got a wheelbarrows worth of untitled Jupyter notebooks containing ML experiments and don’t know how to actually get value out of them, you should consider reading on. We’ll take a look at some of the functionality provided by Azure ML and how an Azure ML project could be set up. The project uses the recently introduced Azure ML Python SDK v2, which is considerably easier to work with than the previous version.
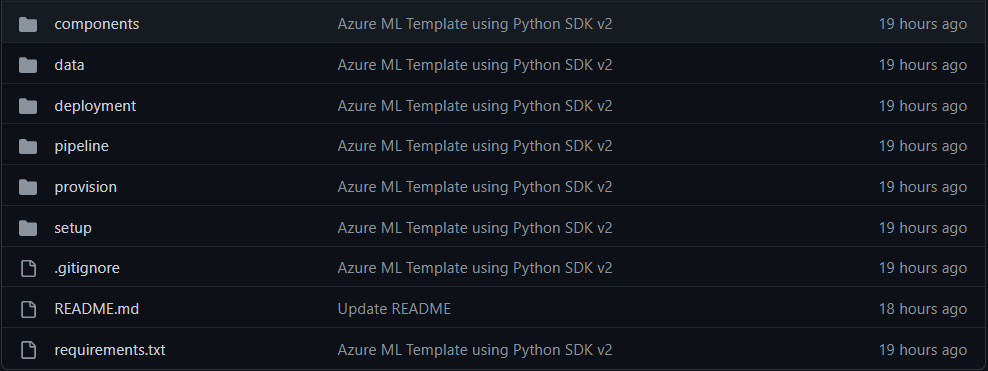
This blog post will walk you through a GitHub repository containing a machine learning experiment as one would set it up in Azure ML. The repository can be found here, and it’s recommended that you browse the various directories as they are mentioned. The repository should be thought of as a template of sorts, and was initially intended for internal use at Eika Forsikring. Our motivation was to make it simple to get started with new experiments in Azure ML by providing a project that guides you through how to complete the most common tasks. The template will show you how to use the most useful features of Azure ML, and it should also be possible to use the repository as a starting point when creating your own experiments.
The blog post is divided into three sections; the first section is about provisioning the required resources for Azure ML. We’ll be using Terraform for this. Terraform is a tool that lets you define your infrastructure without having to physically create it. Once the infrastructure has been defined you can create (or tear it down) using a few simple commands. This is very useful when you’re experimenting with cloud services since you don’t have to choose between
- going through the laborious GUI-based setup process time and time again, and
- incurring unnecessary costs.
The second section shows you how to run a training pipeline that parallelizes the hyperparameter search. It involves uploading and registering datasets, creating an environment, running a hyperparameter search and registering the best model.
In the third section we show you how to deploy your models for both batch and online scoring, and how to trigger them by making a call to a REST API.
Provisioning
The Terraform configuration can be found in the provision/ directory in the repository. Here, we specify the required providers (providers.tf) and the version to use for Terraform and the Azure provider (versions.tf). We define the resources, like the machine learning workspace and the compute cluster, in resources.tf. When creating resources you can make use of variables that are defined in variables.tf and set in terraform.tfvars.
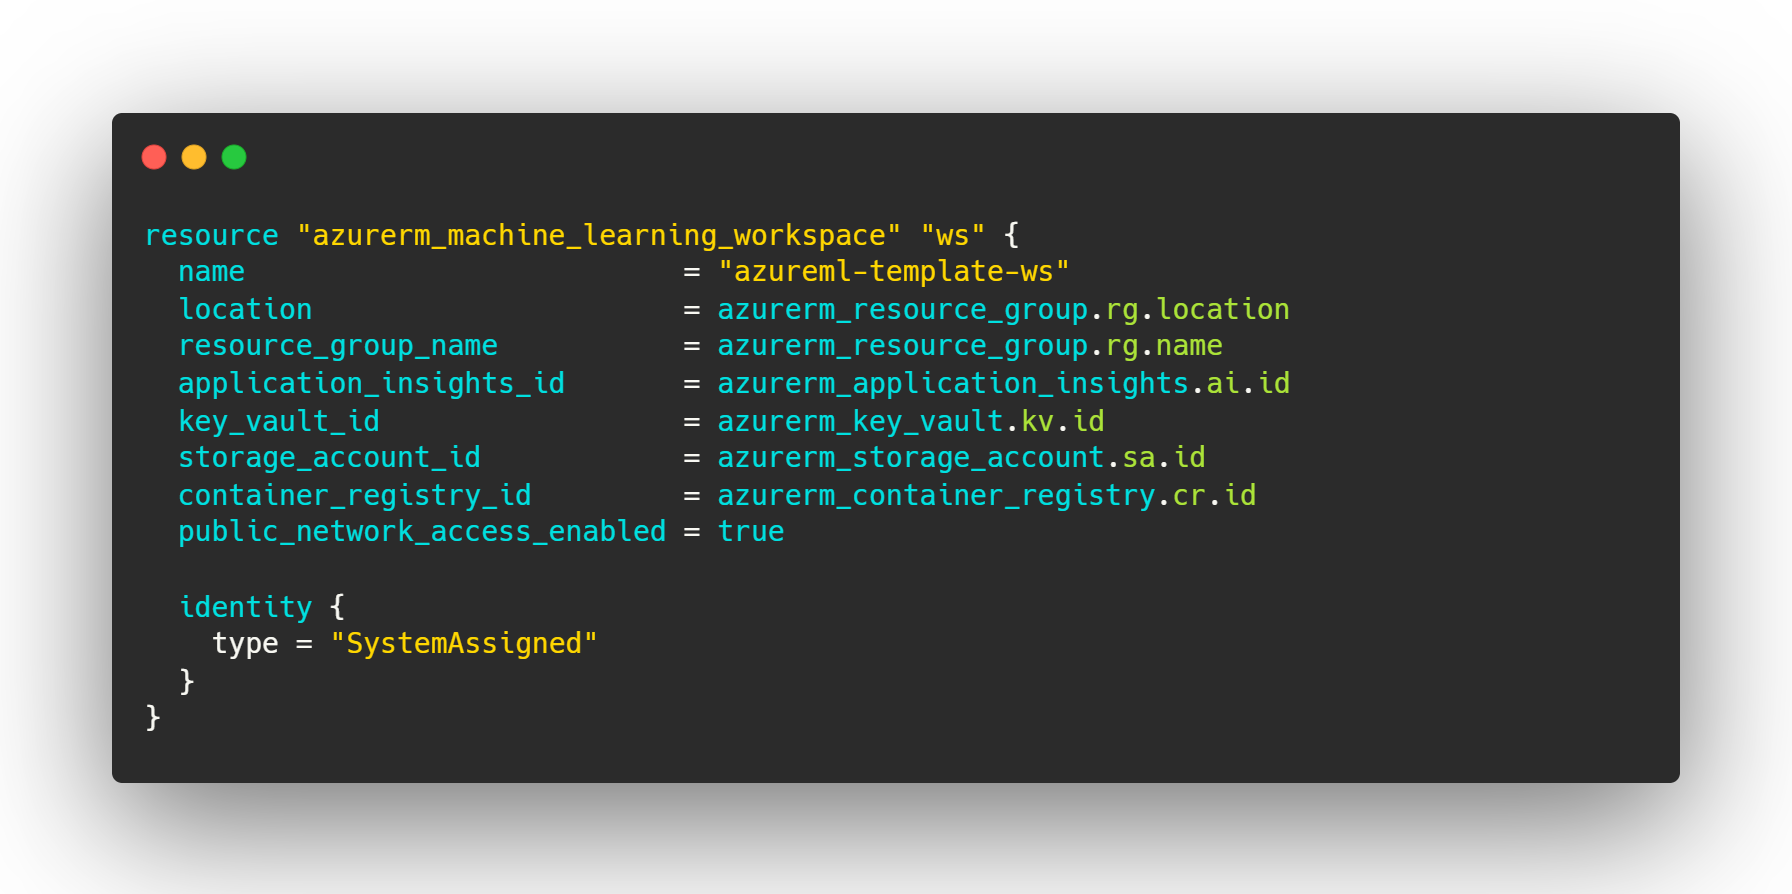
The infrastructure we’re setting up here is very naive – no extra measures are taken to secure it. The configuration used here should therefore not be treated as a suggestion for how to set this up at your company. Its only purpose it to quickly get you started with Azure ML and enable you to run the template project.
In order to create the defined resources you’ll have to install Terraform and make it so Terraform has access to your Azure subscription. This is pretty straightforward, instructions on how to do this can be found here:
Once you’ve installed Terraform and established a method for authenticating with Azure you can simply run terraform init followed by terraform apply to create the resources. When you’re done you can run terraform destroy to tear the infrastructure down, thereby avoiding incurring costs when the resources are not in use.
That should be it! You’ve now got your very own Azure Machine Learning workspace.
Training
Now that we have an Azure Machine Learning workspace we’ll need a machine learning task that we can use to showcase the functionality of Azure ML. The iris dataset will do just fine for this purpose. We will attempt to predict the species of a flower based on its observed attributes, and we will use a random parameter search to identify the parameter that maximizes the cross-validated accuracy of our logistic regression model.
Setup
The first thing we’ll have to do is upload the data to storage in the cloud. The code for this can be found in the setup/ directory. The script create_data.py creates a Parquet file while upload_data.py uploads it to the storage container that is registered as the default blobstore for the workspace.
Pipeline
Azure ML lets you construct training pipelines organized as a DAG. Each node can be thought of as a job that receives input from one node and outputs something to another node. The nodes are defined in YAML files and are referred to as components. These can be found in the components/ folder. Each component is associated with a directory containing the required code, the command that should be executed when the component is run, the environment the command should be executed in, and the inputs and outputs.
The code that is referred to in the definition of the components can be found in their respective directories in pipeline/. This is where all the actually interesting stuff would go, such as preprocessing, model fitting and model evaluation. The environment used in the component definition is created by the create_environment.py script in pipeline/, and is defined by a conda YAML file (conda.yml) and a reference to a Docker image the conda environment should be installed in. All the dependencies for your machine learning code must be found in this environment. Note that if you want to make use of the experiment tracking in Azure ML then mlflow and azureml-mlflow should also be included in conda.yml.
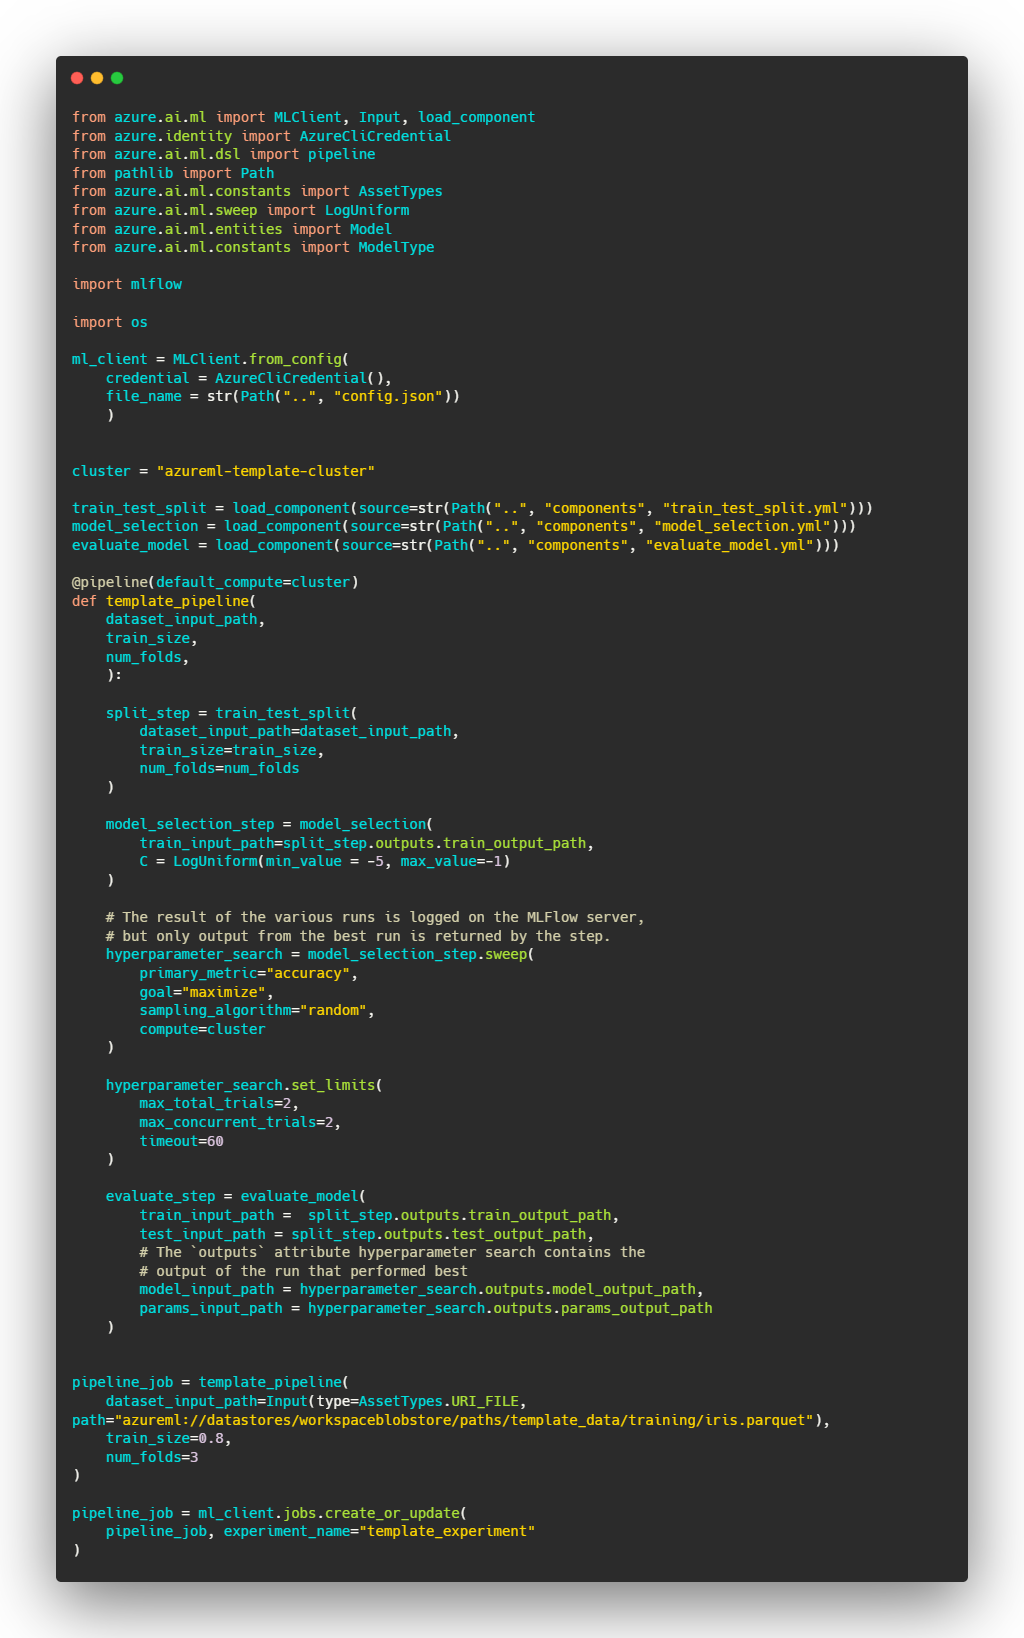
The relation between the components (i.e. the DAG) is defined in run_pipeline.py in the pipeline/ directory. This is done by specifying how the inputs and the outputs should be passed between the different components. When the pipeline is run the commands in the components definition will be executed in the correct order and the outputs of the components will be passed on as input to another component in the manner that is specified. The input to our training pipeline is the dataset we uploaded to blob storage earlier. We register this dataset by running register_training_data.py, but we don’t actually use the Data abstraction when defining the pipeline. One would normally do this, but it does not seem to work properly at the moment. We therefore refer to the uploaded data directly by using a path such as azureml://datastores/workspaceblobstore/paths/<file_path>. This path refers to the file located at <file_path> within the storage container registered as the workspaceblobstore in your workspace.
The pipeline definition in run_pipeline.py consists of a step that splits the dataset into training and test data, a step that computes cross-validated accuracy for a number of randomly sampled parameters and a step that trains a model on the entire dataset with the best-performing parameter choice before registering it. The step that does the cross-validation for various randomly sampled hyperparameters utilizes one node from the compute cluster per hyperparameter combination. The hyperparameter search can therefor run in parallel, potentially saving us a lot of time. The performance of each of the runs is tracked using the MLFlow integration that is provided by Azure ML and the output from the best performing run is passed on to the next node. In the the call to sweep in run_pipeline.py we specify that a metric called accuracy should be maximized. We must therefore ensure that the accuracy is logged with that exact name. All Azure ML runs are configured so that any logging done with MLFlow automatically uses the workspaces dedicated MLFlow Tracking Server. The final step trains a model on the entire dataset and registers it. The registration is done using the MLFlow API, but the model will show up in the “Model” pane on ml.azure.com. Registering a model makes it possible to deploy it through a batch- or online endpoint.
Deployment
We will now move onto deployment. Once a model is registered it can be deployed for both batch and online scoring. We will treat the two alternatives separately. This section will be brief, seeing as most of the code is boilerplate and well-documented elsewhere.
Batch deployment
We start off by creating a batch endpoint. Such an endpoint can contain multiple deployments, and each deployment uses a specific environment, model and scoring code. We must therefore create such a deployment and register it to the endpoint. A batch deployment supports running inference in parallel across multiple nodes, with each node handling a subset of the input data. In our template project we do everything on a single node, but this is not necessary. All code related to batch deployment can be found in deployment/batch/. The code used for scoring is found in code/scoring.py. The run function will be called with a list of files and should either return predicted values for each file or ensure that the output is written to the desired location. Details on how to author these functions can be found in the AML documentation. Note that in order for the batch deployment to work we must include the package azureml-dataset-runtime[fuse] in its environment.
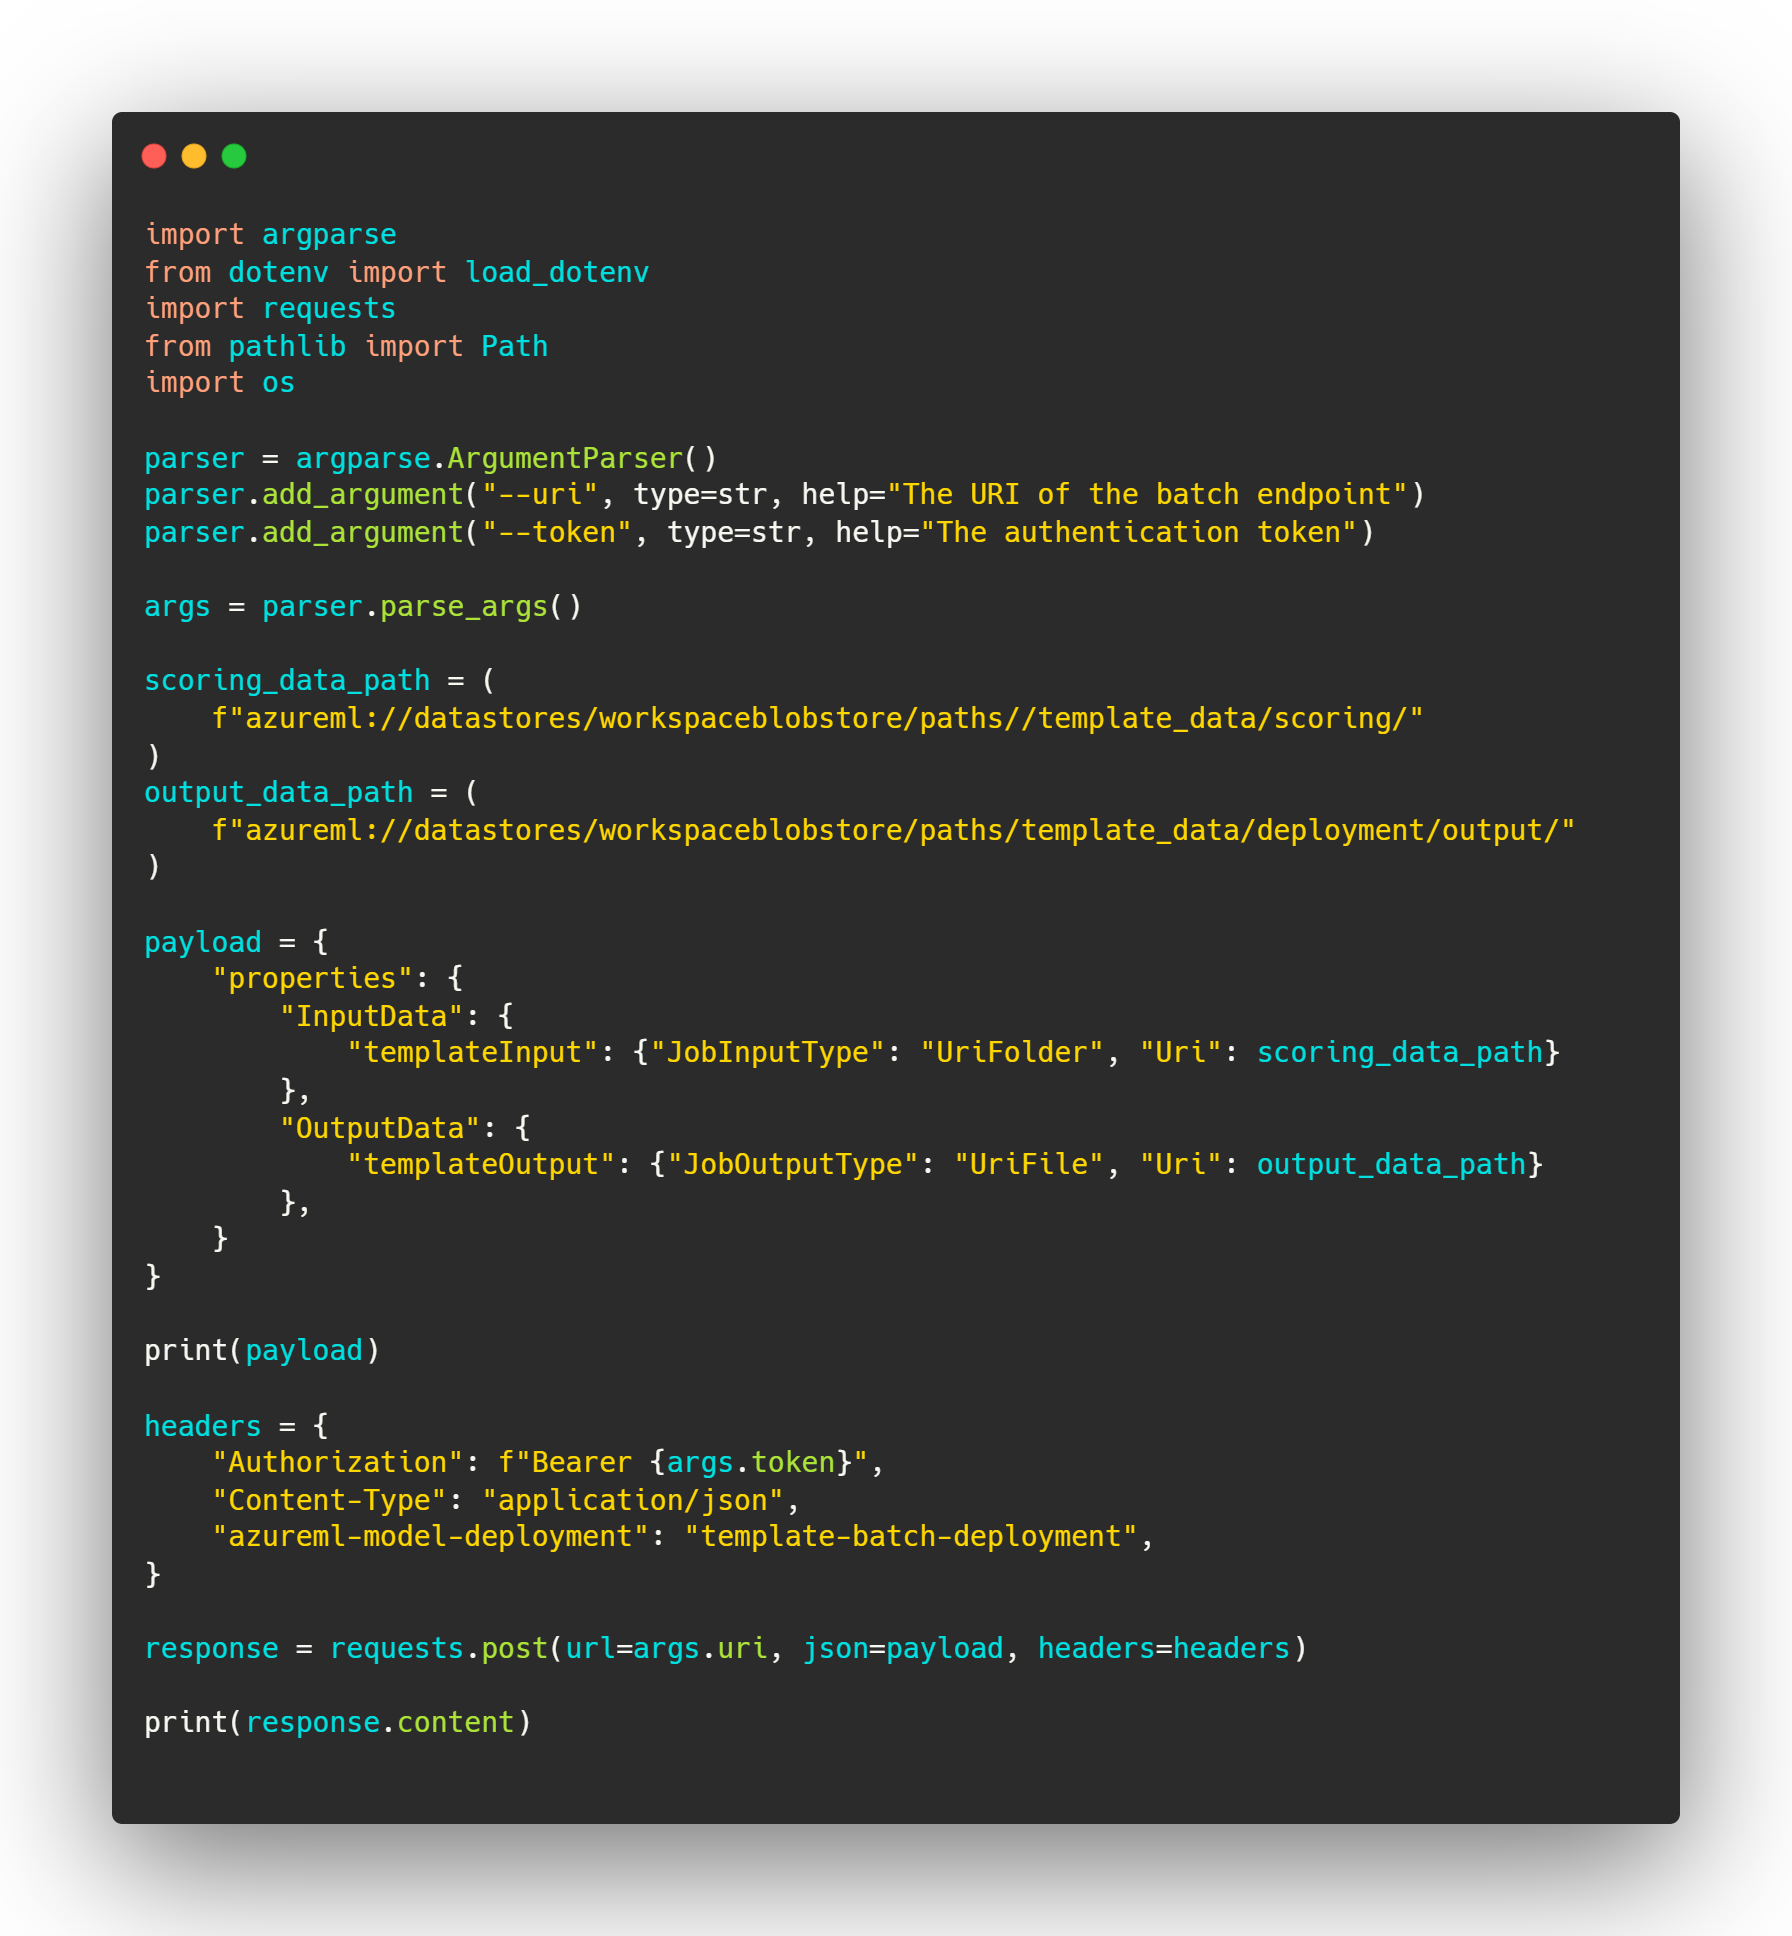
When the deployment is created it can be invoked through the REST endpoint, as shown in invoke_with_rest.py. Invoking through the REST endpoint allows us to specify the output location for the scoring script.
Online deployment
Creating the online deployment is very similar to what we did for the batch deployment. One has to first create an endpoint and then register a deployment to the endpoint. The run function in deployment/online/code/scoring.py is called with the data received through the endpoint and would typically return predictions (which is what we do here). More in-depth instructions on how to author scoring scripts for online deployments is described in detail in the AML documentation. Note that the Python packages azureml-defaults and inference-schema[numpy-support] seem to be required for the online deployment to work (although this isn’t explicitly mentioned anywhere).
The endpoint can be invoked with REST, as shown in invoke_with_rest.py, and will return whatever your scoring function is set up to return.
Closing remarks
I hope this blog post, together with the template project, has provided some insight into what Azure ML is and the functionality it has. When you’re putting together your own project you’ll definitely have to make some adaptions, but I hope the template provided here can function as a sensible starting point. The documentation for the Python SDK and the AML documentation is very useful when you’re digging into the details. I found the following links especially helpful when piecing this template together: